Installing CDAScorer
CDAScorer is a single cross-platform package — there is no separate Mac or Windows version, and the commands to install and run it are identical on both. The only differences are how you connect to the shared drive and where you open a terminal, so this page is split into a Mac section and a Windows section. Follow the one for your computer.
Earlier versions of this guide asked Windows users to edit their PATH and PATHEXT variables by hand. That is no longer necessary: pip installs a real cdascorer command, and conda puts it on your path automatically as long as you work from the Anaconda Prompt.
Mac
Step 1: Make sure you are connected to Eduroam
Step 2: Map the Banfield shared drive to your Finder
Right click on Finder and select “Connect to Server”.
In the top bar it should say “smb://nbi-ufiles”. Click “Connect”.
Then click on “Shared” and click “Ok”.
Step 3: Make sure Anaconda is installed
Open a Terminal window and type conda env list. If you get a list of filepaths headed by “conda environments:”, Anaconda is installed. Anaconda comes with its own copy of Python, so you do not need to install Python separately.
If an error occurs, head to the Anaconda download page and work through the installer (warning - this can take a while so you’ll need to be patient). Once complete, conda env list should work.
Step 4: Navigate to where you want to store your scoring data outputs
Use the cd (change directory) command in the Terminal to navigate to an empty folder where you’d like to store your output files. For example, if you have a folder called CDAScorer_Data in your Documents folder:
cd ~/Documents/CDAScorer_Data/
Step 5: Create and activate a conda environment
A conda environment is effectively a sealed box on your computer, so that anything installed inside it is contained and doesn’t make permanent changes to the rest of your system.
conda create --name CDAScorer
conda activate CDAScorer
You should now see (CDAScorer) at the start of your command line. Every time you open the Terminal, if your environment shows (base) you should activate the CDAScorer environment again.
Step 6: Install the CDAScorer package
pip install cdascorer
This installs the package along with everything it depends on. To update to the latest version later, run pip install --upgrade cdascorer.
Step 7: Run the CDAScorer package with test data
cdascorer --test
A user interface should appear. You can press the “Save and Exit” button in the top left to quit. If you type ls afterwards you should see a new cdata.csv file. This means the package is running successfully. Follow this link to start scoring real data!
Windows
Step 1: Make sure you are connected to Eduroam
Step 2: Map the Banfield shared drive in your File Explorer
Open File Explorer.
In the lower half of the left pane, click on “This PC”.
Then, in the top bar, click on “Map Network Drive”. This is sometimes hidden in a drop down menu.
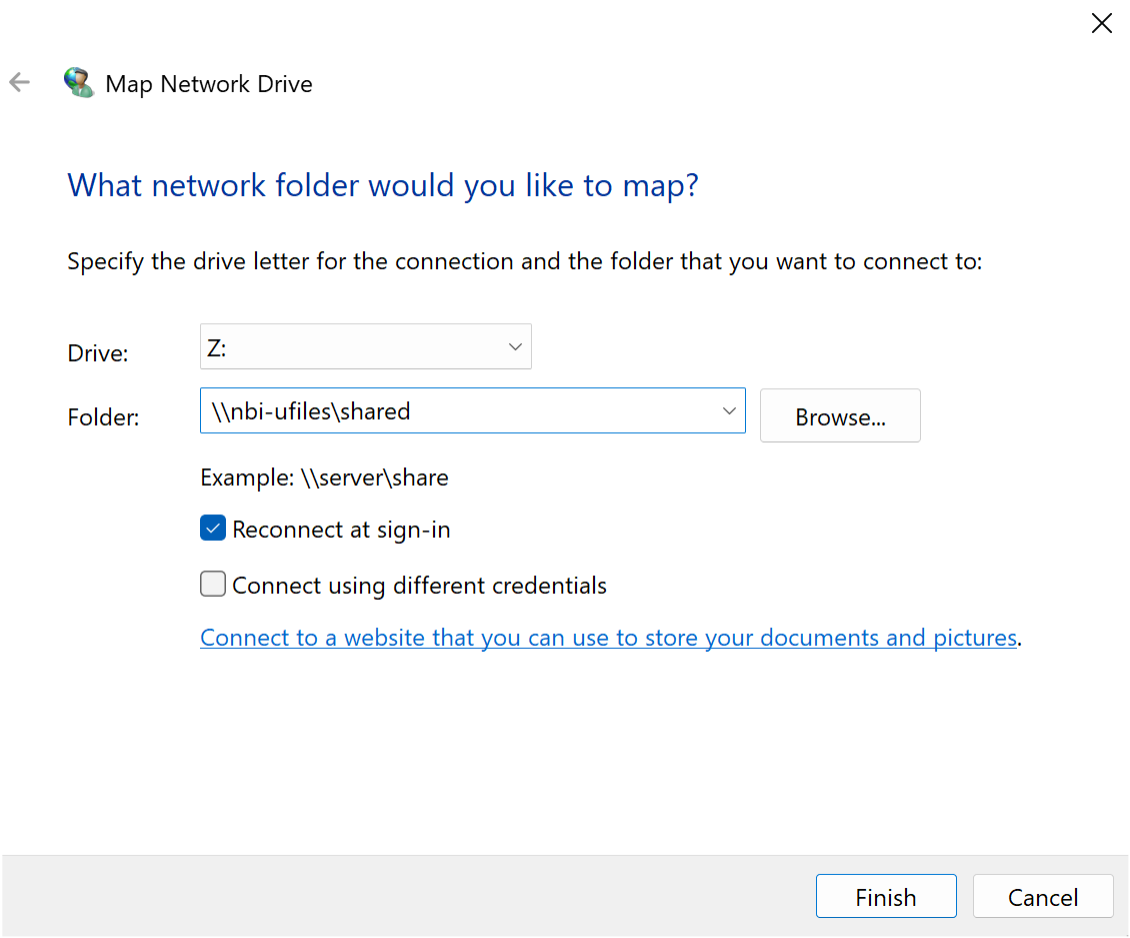
A window will pop up. In the “Folder: “ box, type “\\nbi-ufiles\shared” and press “Finish”.
This is the window you should see during this step
Step 3: Make sure Anaconda is installed
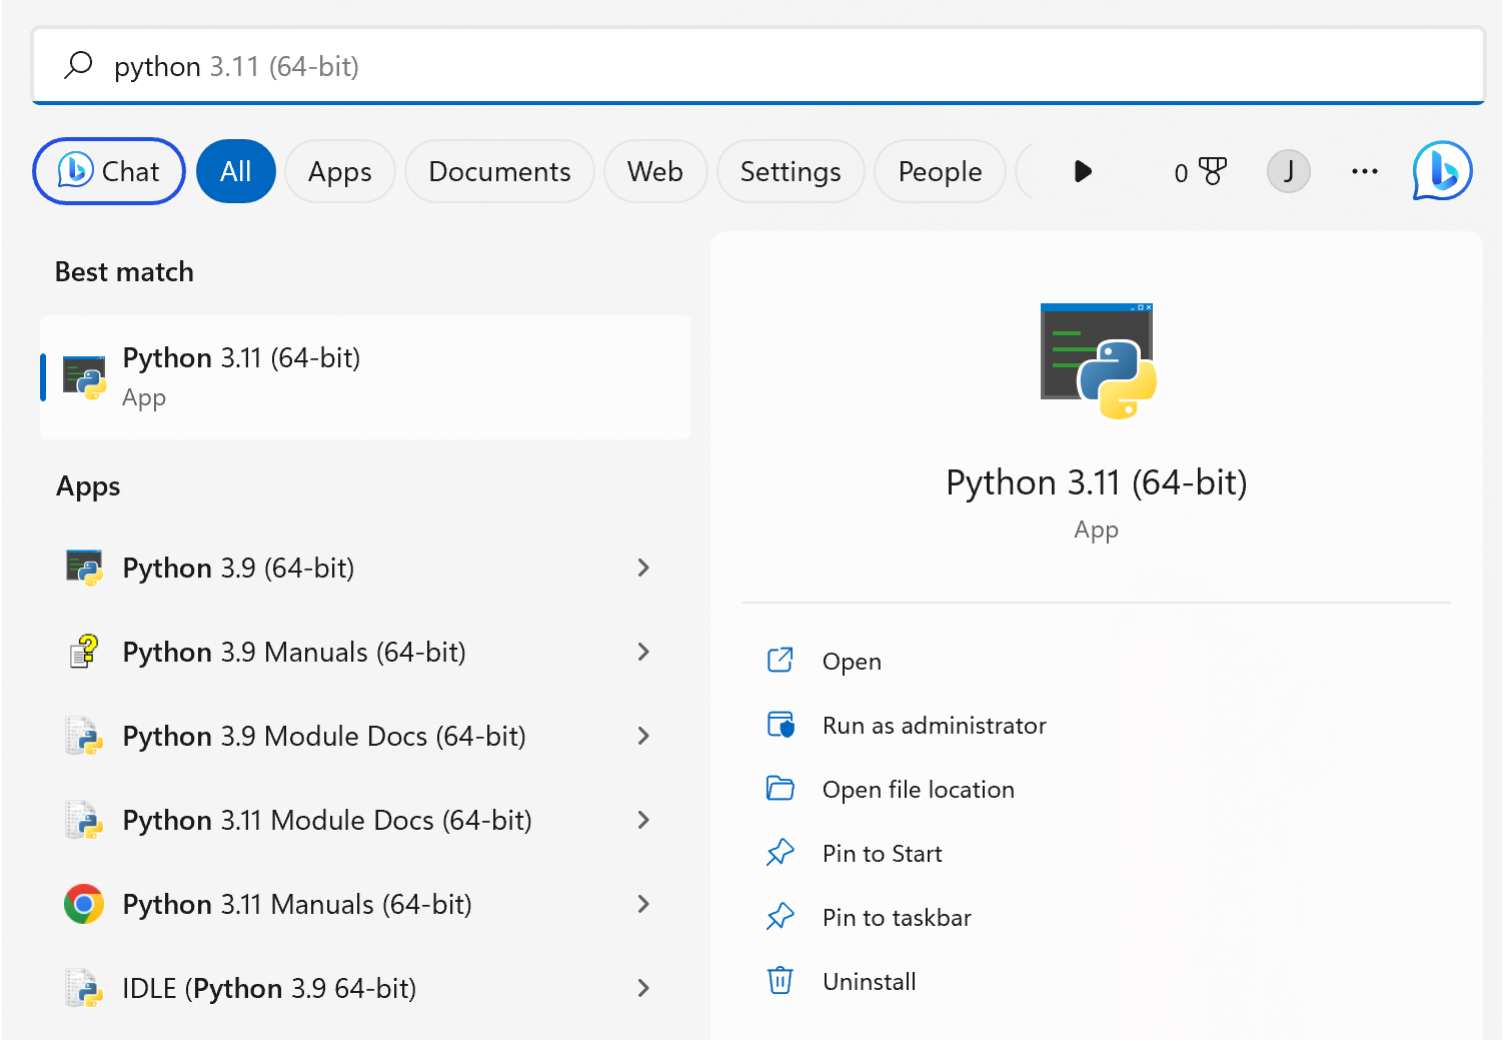
Check if Anaconda is installed by typing “Anaconda” in your Windows search bar. If you see an application with a green logo called Anaconda Prompt (or Anaconda Navigator), it is installed.
If Anaconda is not installed, head to the Anaconda download page and work through the installer (warning - this can take a while so you’ll need to be patient). Anaconda comes with its own copy of Python, so you do not need to install Python separately.
You should be able to find Python bundled with Anaconda
Step 4: Open the Anaconda Prompt
From the Windows search bar, open the Anaconda Prompt. Run every command in the steps below from this window — it is already set up to find conda and, after you activate an environment, the cdascorer command.
You can confirm conda is working by typing conda env list. You should get a list of filepaths headed by “conda environments:”.
Step 5: Navigate to where you want to store your scoring data outputs
Use the cd (change directory) command to navigate to an empty folder where you’d like to store your output files. For example:
cd C:\Users\YOUR_USERNAME\Documents\CDAScorer_Data\
where YOUR_USERNAME is your NBI username e.g. jowillia.
Step 6: Create and activate a conda environment
A conda environment is effectively a sealed box on your computer, so that anything installed inside it is contained and doesn’t make permanent changes to the rest of your system.
conda create --name CDAScorer
conda activate CDAScorer
You should now see (CDAScorer) at the start of your command line. Every time you open the Anaconda Prompt, if your environment shows (base) you should activate the CDAScorer environment again.
Step 7: Install the CDAScorer package
pip install cdascorer
This installs the package along with everything it depends on. To update to the latest version later, run pip install --upgrade cdascorer.
Step 8: Run the CDAScorer package with test data
cdascorer --test
A user interface should appear. You can press the “Save and Exit” button in the top left to quit. If you type dir afterwards you should see a new cdata.csv file. This means the package is running successfully. Follow this link to start scoring real data!